Project Planning with Microsoft – What Are Your Options?
1 – Background
- MS Project was not fully integrated with Microsoft 365.
- It was not possible for multiple people to work on the same plan at once
- There was no “autosave” feature when working on SharePoint/OneDrive
- The MS Project software had to be downloaded onto each company computer, and the license was expensive.
- Often only the Project Manager had access to MS Project, plans needed to be exported to Excel or PDF to be shared with the wider team
Contents
2 – Planner Levels
- Microsoft To Do – included in all Microsoft 365 subscriptions
- Basic Planner – included in most1 Microsoft 365 subscriptions
- Planner Plan 1 – £9.50/month
- Planner Plan 3 – £25.50/month
- Planner Plan 5 – £45.00/month
2.1 – Microsoft To Do
 on the Outlook menu.
Every time you flag an email for follow up, it creates a task here. To Do is intended for individual use, it does not have functionality for collaboration.
on the Outlook menu.
Every time you flag an email for follow up, it creates a task here. To Do is intended for individual use, it does not have functionality for collaboration. 2.2 – Basic Planner
Basic Planner provides quite a lot of functionality. These include, task boards, buckets, labels, checklists, Grid/Board/Charts/Schedule views. It can be used to collaborate as tasks are assigned to individuals and others can edit the task details, progress etc.
For a small team, on a relatively simply project, Basic Planner may suffice.
2.3 – Planner 1
- Tasks now have dependencies – e.g. task B (Agree List of Questions), must occur before task A (Write Questions).
- The only dependency type available is Finish-to-Start (i.e., the Finish of task 3 is linked to the Start of task 4)
- Times can be entered in “standard duration”, which is effectively working days (i.e. 5 days = 1 week)
2.4 – Planner 3
- In addition to Finish-to-Start dependencies, you can also use Start-to-Finish, Start-to-Start and Finish-to-Finish
- Times can be entered in “elapsed time”, which is calendar days (i.e. 7 days = 1 week). This is useful if e.g. the response time to a submission is given as 30 calendar days, not 30 working days.
- You can add lead/lag times – e.g., a task may start 2 days before or after another task. This can be useful to build contingency into your plan, or where the relationship between tasks is complex.
2.5 – Planner 5
Planner 5 is the best version with the most functionality. It adds portfolio management, enterprise resource allocation, and advanced costing.
3 – Planner Outputs
3.1 Task Lists
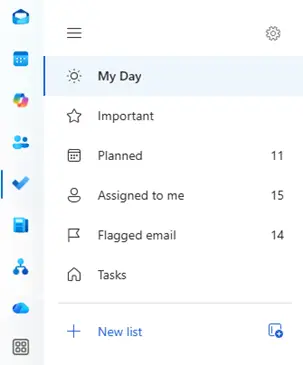
All levels of Planner allow you to view task lists. This are available through Outlook and show upcoming tasks, all tasks assigned to you etc. The task list also lets you view and manage flagged emails. In the image below, is an example of 11 tasks that come from Plans (i.e. tasks that are linked to a plan where the user is collaborating with others in the team.
Alternatively, you can get your Planner information via Teams:
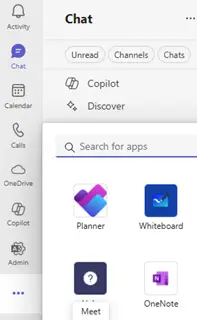
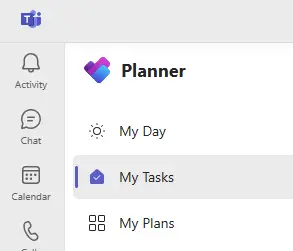
The Teams interface also lets you view Plans.
3.2 – Grid View
Available in Basic Planner and above.
Below is a screenshot of a plan we created when developing our website, it shows the Grid View.
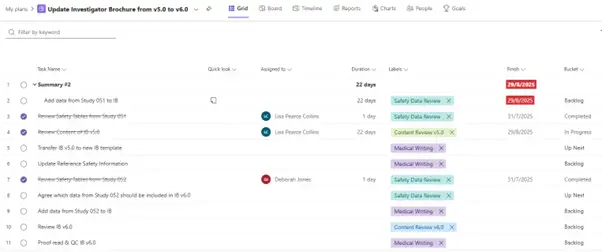
- Assigned To – team member(s) allocated this task
- Duration
- Label (customised for each project)
- Finish Date (in red if tasks are late)
- Bucket (to be explained below)
3.3 – Board View
Available in Basic Planner and above.
The screenshot below is for the same plan as show in the Task View above.

- Backlog – pending
- Up Next – the list of tasks that the team can choose from when they complete a task and need to choose a new one
- In Progress – what the team are currently working on
- Completed
3.4 – Timeline View (Gantt Chart)
Available in Planner 1 and above.
The Timeline View is an essential part of planning projects which are to be conducted by the “traditional waterfall” method. This method is mostly used for clinical studies as the timeframe and tasks are relatively fixed and are interdependent. See below for a Timeline view from a project showing the steps needed to perform a submission for an FDA Type C Meeting.
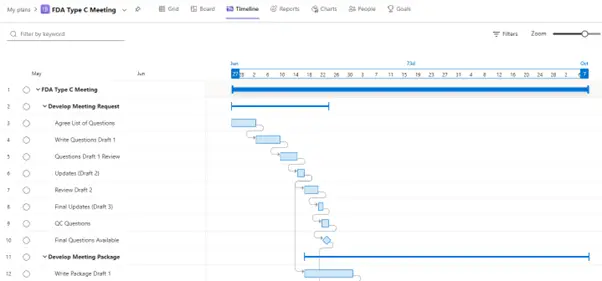
All the relationships shown above are standard Finish-to-Start as we are using Planner 1.
4 – Conclusion
At present at ClinOps Specialists we are using Planner 1 as this is sufficient for our needs. We will upgrade to Planner 3 if we encounter projects where the “extras” of task dependencies, elapsed days etc. prove to be essential. If you are considering transitioning to Planner, we think that Planner 1 is a good place to start.
Good luck!